How do you handle staging environments versus live sites?
How Do You Handle Staging Environments Versus Live Sites?
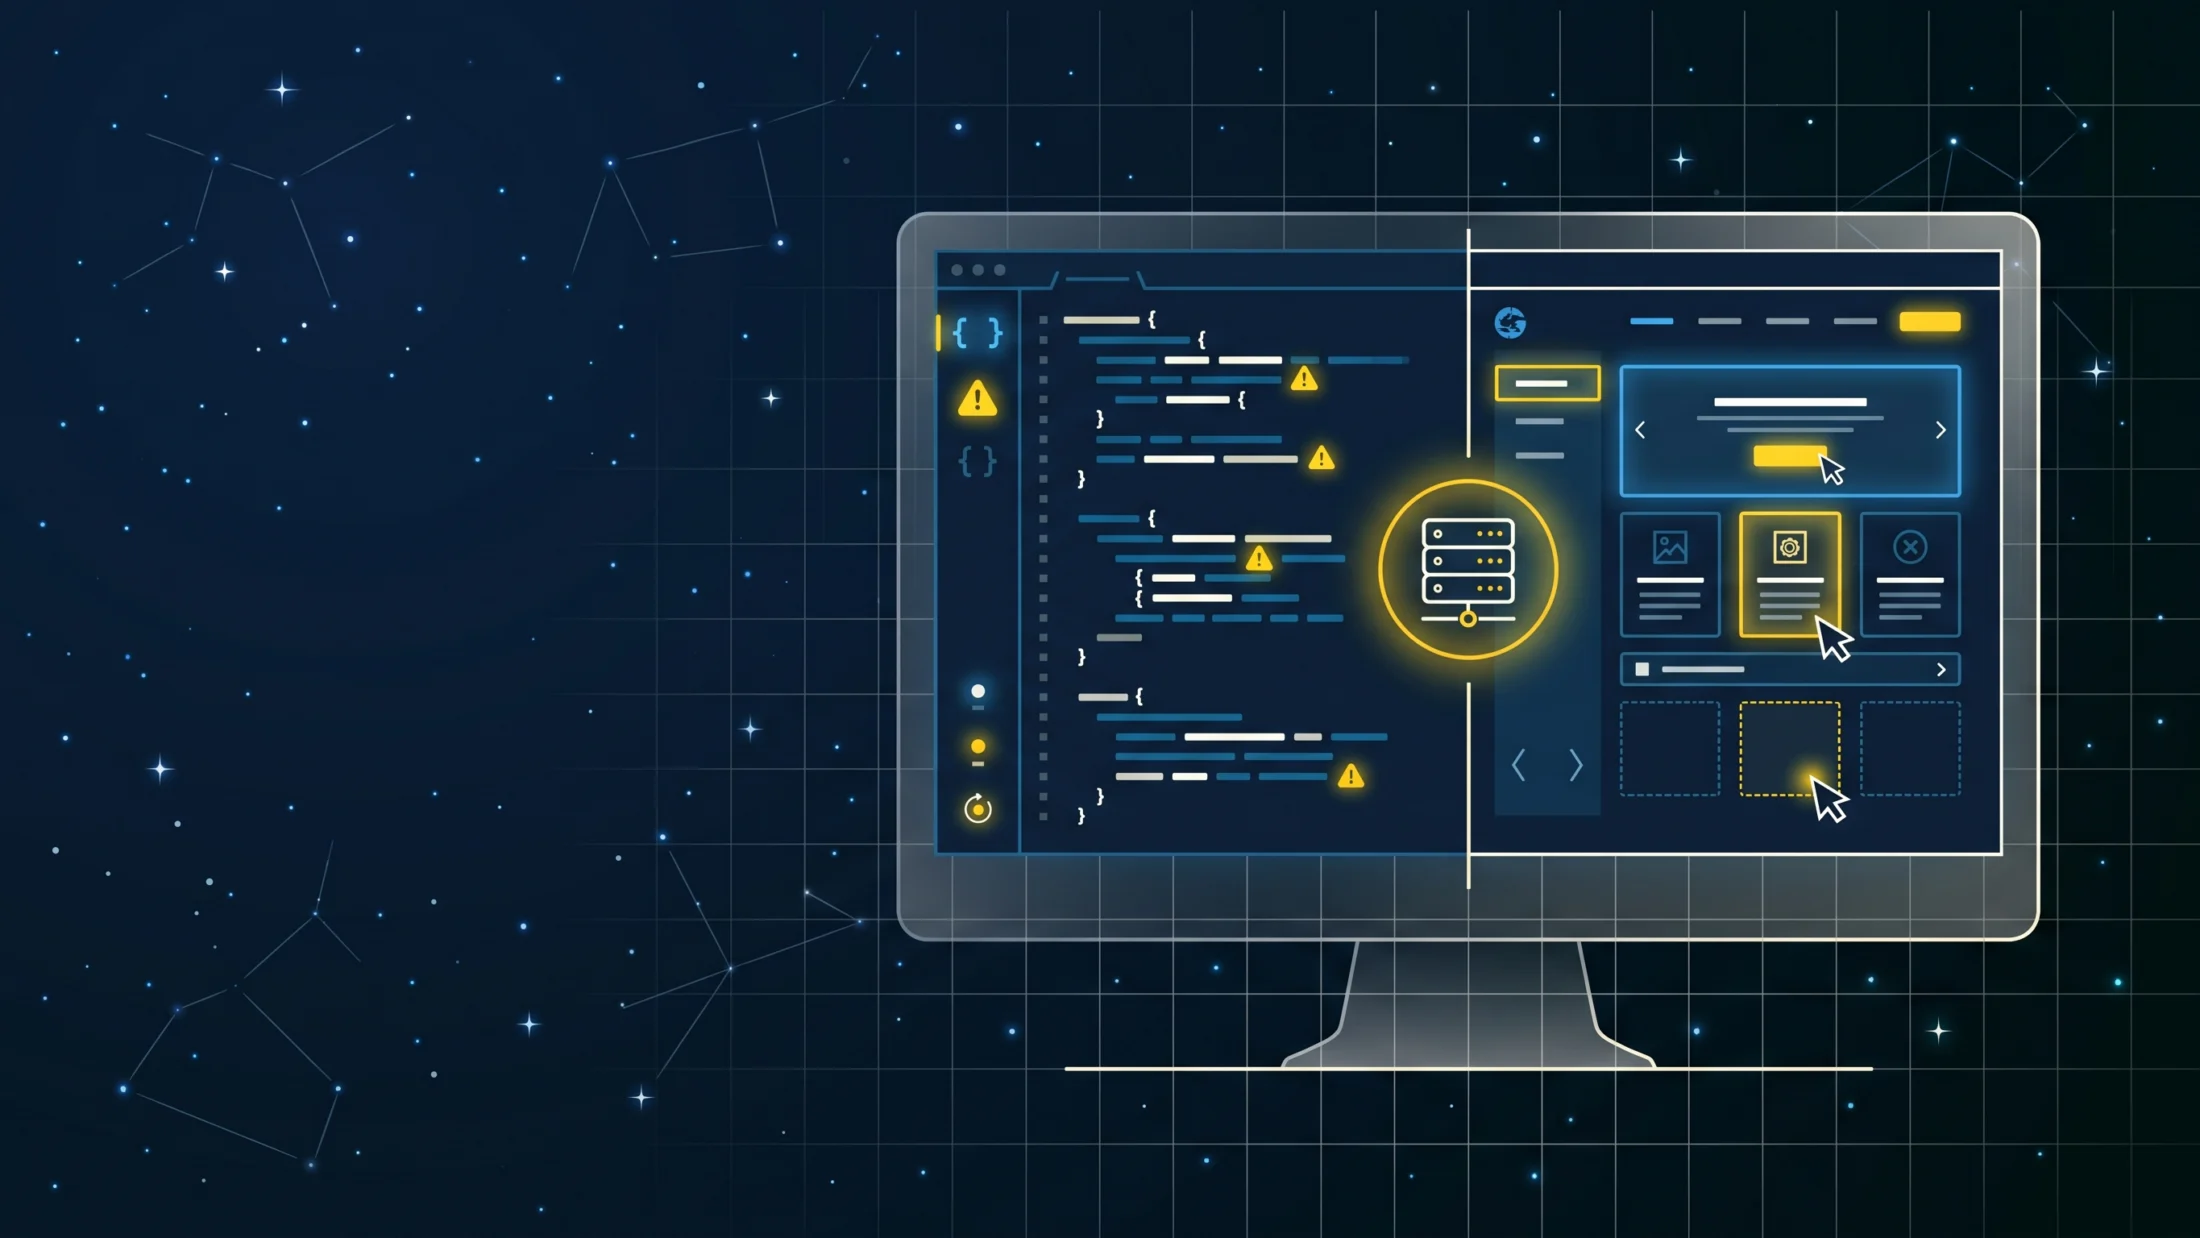
In modern web development and IT operations, managing different environments—especially staging environments versus live production sites—is a critical practice. Properly handling these environments ensures smooth deployments, reduces errors, improves collaboration, and ultimately delivers a seamless experience to end users.
This comprehensive guide will delve into the key aspects of handling staging environments versus live sites, covering best practices, infrastructure setup, deployment workflows, testing strategies, and important precautions.

What Are Staging and Live Sites?
Live Site (Production Environment) refers to the publicly accessible version of your website or application that end users interact with. It contains the real data and is expected to be stable, performant, and secure.
Staging Environment is a nearly identical but isolated environment where final testing happens before pushing changes to production. It mimics the live site’s setup, including hardware, software, and data configurations, but it’s not visible to the public or end users.
Why Differentiate Staging from Live?
- Risk Mitigation: Testing new features, updates, and bug fixes in staging prevents breaking the live site.
- Quality Assurance: Enables thorough testing including functional, performance, security, and usability testing.
- Approval Workflow: Staging acts as a final checkpoint for stakeholders to approve updates before release.
- Realistic Environment: Having a replica of the live site helps uncover environment-specific issues early.
Key Differences in Handling Staging vs Live
1. Data Management
Staging environments often use anonymized or scrubbed data that resembles production data but without sensitive information. Using real production data in staging can expose sensitive information and create security risks.
2. Access Control
Access to the staging environment should be restricted to authorized developers, testers, and stakeholders only. Live site access must be tightly controlled with enhanced security measures.
3. Deployment Process
Deployments to staging usually happen more frequently, sometimes multiple times per day, to test work in progress. Deployments to live are less frequent, carefully planned, and often involve rollback mechanisms.
Best Practices for Handling Staging and Live Sites
1. Maintain Environment Parity
The closer your staging environment matches production in hardware, software versions, network configuration, and third-party integrations, the more reliable your tests will be.
2. Automated Deployment Pipelines
Implement CI/CD pipelines that deploy code first to staging for testing, then to live only after passing all required checks.
3. Use Feature Flags
Feature flags allow you to merge incomplete features into the staging or production branch without exposing them publicly until they are ready.
4. Data Sync and Refresh
Regularly refresh staging data from production, ensuring sensitive data is anonymized during the process.
5. Log and Monitor Separately
Set up dedicated monitoring and logging for staging to avoid conflating issues that impact live users with those in testing.

Common Challenges and How to Overcome Them
Challenge #1: Environment Drift
Differences between staging and production environments can cause bugs to appear live that didn’t in staging—or vice versa. To combat this:
- Use Infrastructure as Code (IaC) tools like Terraform or Ansible to provision and configure environments consistently.
- Regularly audit and update staging to keep it synchronized with production.
Challenge #2: Data Privacy Concerns
Using production data in staging can violate privacy policies and regulations.
- Implement automated data masking and anonymization.
- Use synthetic data generation tools to create realistic but fictitious datasets.
Challenge #3: Deployment Rollbacks
Deployments can fail or introduce critical bugs.
- Adopt blue-green or canary deployment strategies to minimize downtime.
- Maintain backups and quick rollback plans.
Recommended Workflow for Handling Staging vs Live
Step 1: Develop Locally
Developers write and test code changes in local environments.
Step 2: Push Changes and Run Automated Tests
Code is pushed to a source control system that triggers automated tests and builds.
Step 3: Deploy to Staging
Once tests pass, deploy the change to the staging environment for manual and integration testing.
Step 4: Stakeholder Review
Product owners and quality assurance teams review changes on staging to approve or reject.
Step 5: Schedule and Deploy to Live
Upon approval, deploy changes to live during off-peak times with monitoring in place.
Step 6: Monitor and Rollback If Needed
Watch for any performance degradation or errors and rollback immediately if necessary.
Security Considerations
- Ensure staging environments do not send external emails or notifications to real users.
- Apply same security patches and updates to staging as production.
- Use VPNs or private networks for staging access to minimize exposure.
“The staging environment is your safety net — invest time in making it as close to production as possible to prevent costly live site failures.” — DevOps Expert
Conclusion
Handling staging environments versus live sites effectively requires careful planning, disciplined workflows, and a strong emphasis on environment parity and security. The benefits of a robust staging environment — safer deployments, higher quality software, and satisfied users — far outweigh the investment needed to maintain it.
By following industry best practices and leveraging modern automation tools, teams can reduce risks and accelerate their release cycles, ensuring both staging and production environments serve their distinct but equally vital roles in the software delivery lifecycle.